Have you stumbled upon some great Prezi content that you'd like to share with others too? When viewing public presentations created by other Prezi users, you can now select individual frames that you find the most interesting and save them to your own Prezi content library to view or reuse them later. What's even better, you can also import them into Prezi Video right away with only a few clicks and record a video presenting these frames while adding your own commentary to them. Let the cameras roll!
What is Prezi Video?
Prezi Video is a video editing and recording software that puts you right alongside your content as you live stream or record, for a seamless and personalized experience that keeps viewers hooked. With Prezi Video, you’re the star of the show by being featured next to your content, explaining and interacting with it that is sure to ‘wow’ your audience.
You can use the Prezi Video online editor to create videos from scratch by adding your own text and visuals, then record and share your video or convert a Prezi or PPT presentation or even live stream it with a video conferencing tool from the Prezi Video desktop application.
It is also possible to reuse the content from public videos created by other Prezi Video users but you can also easily re-purpose great content found in public Prezi presentations and turn it into an engaging video.
Saving frames from a presentation
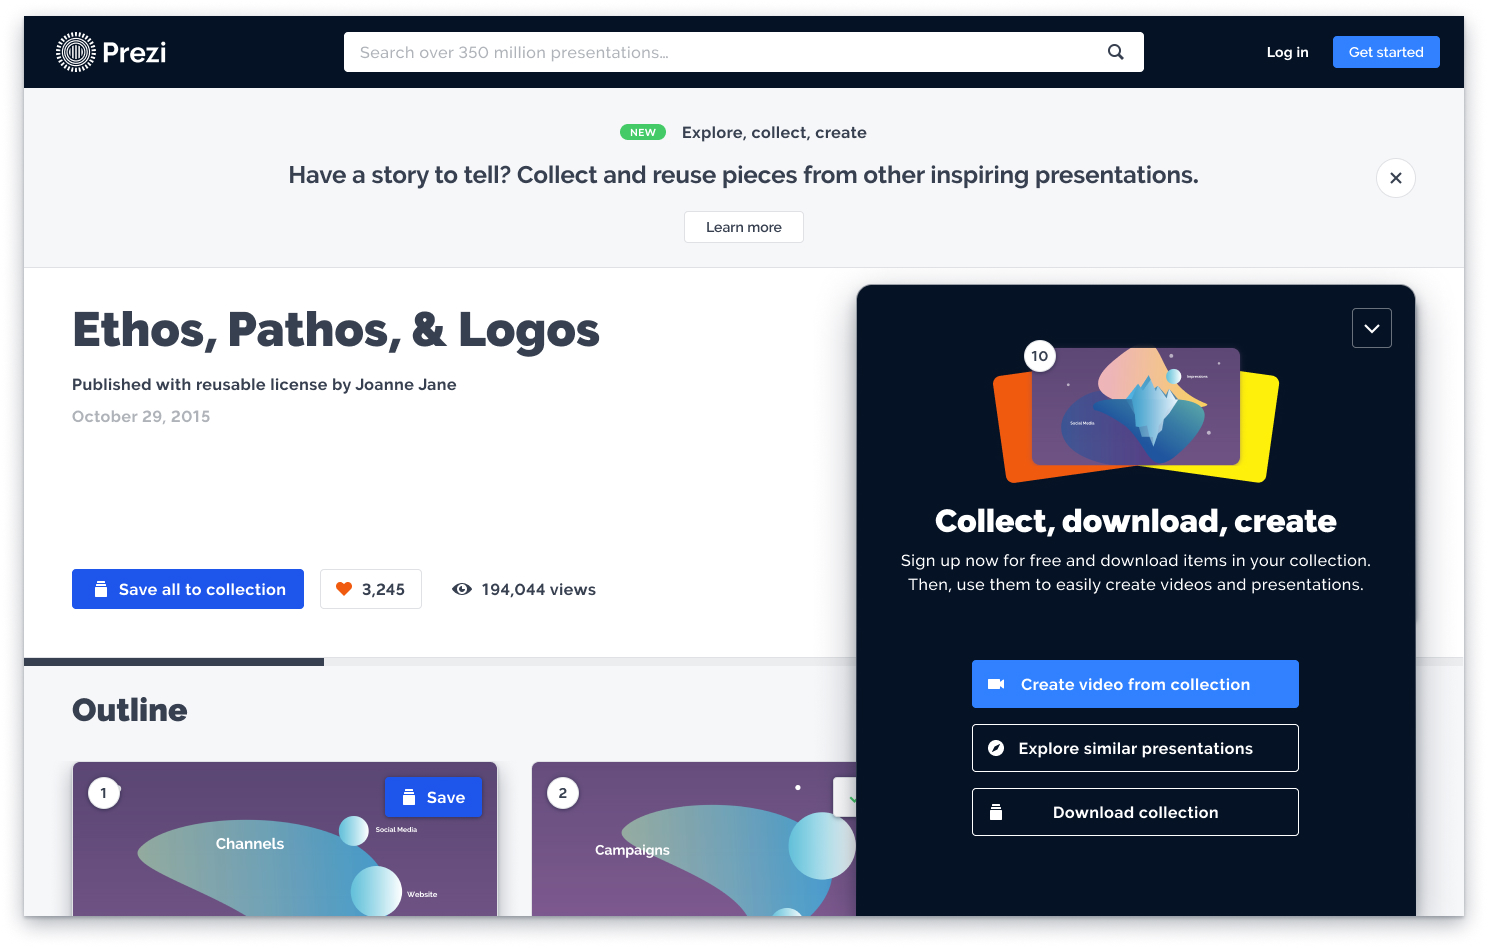
When opening a public Prezi presentation you found online, you can view it in its entirety via the presentation window, but scrolling further down, you will also find the content of the presentation mapped out frame by frame. Select the frames you would like to reuse, then click Create video from collection in the popup window.
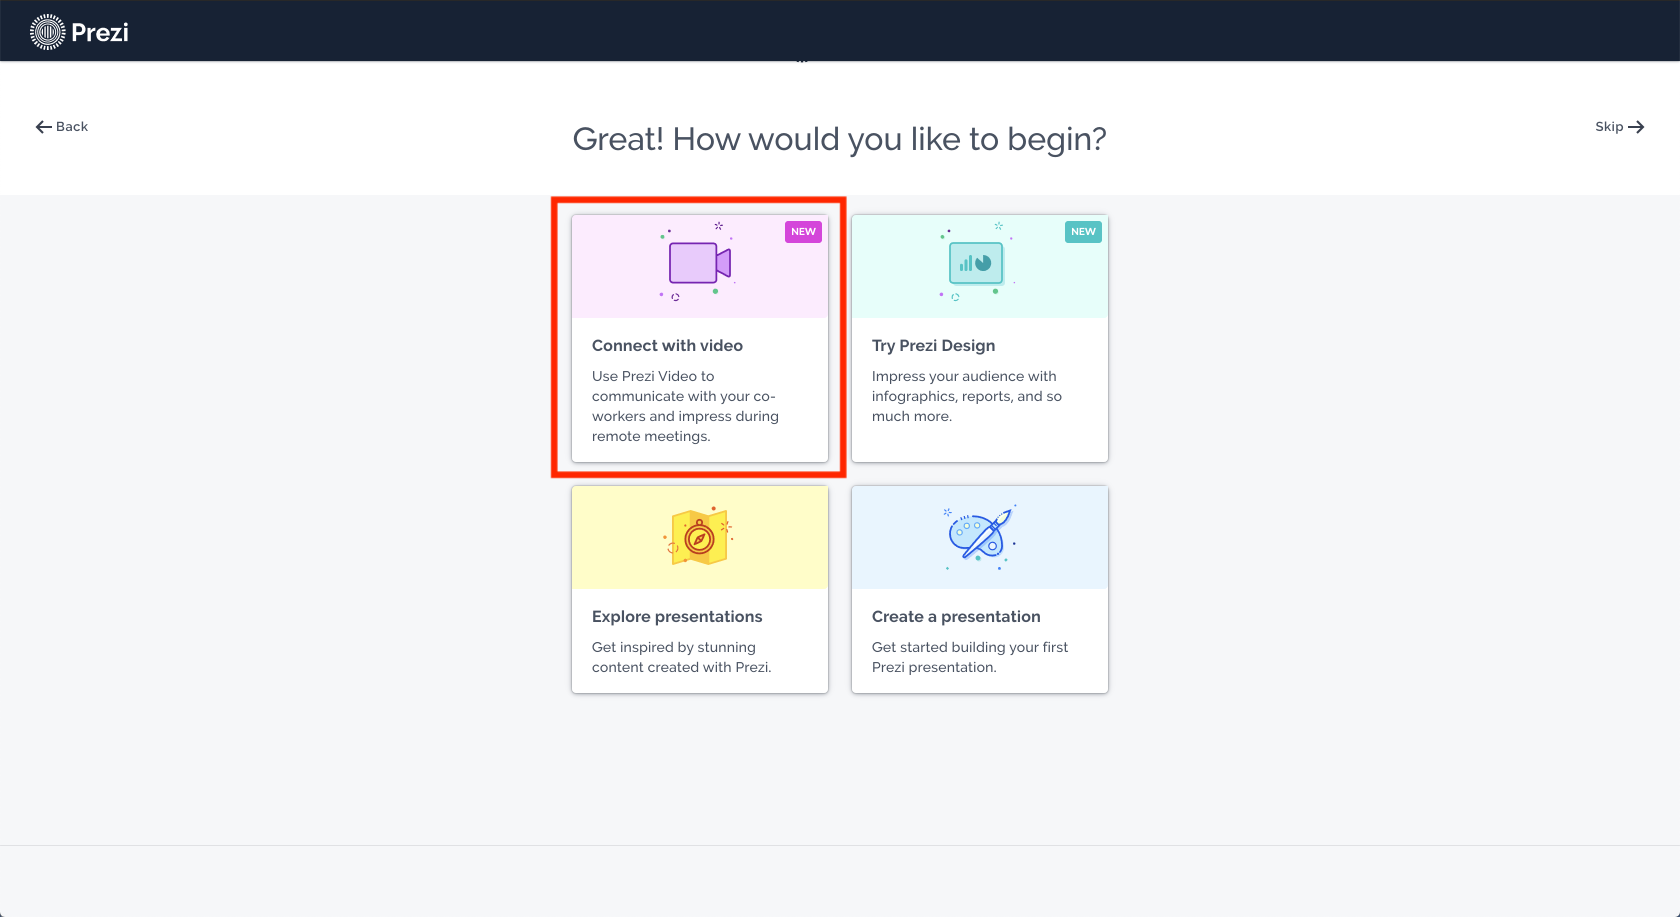
To move forward, you first need to create a Prezi account and let us know what field you are working in. Don't worry, it only takes a few seconds! Then, click Connect with video to import your saved frames and open the Prezi Video online editor.
Adding content to your video
Once the Prezi Video editor opens, you first need to enable your camera to be able to start creating a video. Once your camera is enabled, you will see yourself on the screen. Hi!
Next to the video feed, you'll see your saved frames already added as visuals. Click on the T icon in any of the slide thumbnails to add text and click the three dots in the thumbnail to remove/replace the visuals with a different file either from our collection, uploaded from your computer or selected from Dropbox, Google Drive, or OneDrive.
Use the + icon to add further slides and add your presenter notes.
When you're done adding your content click Practice and record to start recording your video.
Recording and sharing your video
It's showtime! Click the red Record button and start recording your video after a countdown.
To navigate through your content, select the left and right arrows on your keyboard, in the side panel or click directly on anything you want to zoom to.
Depending on what you want your audience to focus on, use the toggle to either show or hide your content. When you’re showing your content, you can either make it appear right next to you or show it in full screen.
If necessary, you can pause your recording by clicking the red button under the video window and resume by clicking the same button again. When you're finished, click the Done recording button and your video will start processing.
Once the video is processed, you can watch it in its entirety. Don’t worry if you’re not happy with the first (or sixth) take, you click on Discard and record again to give it another try as many times as you’d like. Remember: practice is the key to success!

Once you have a version you're happy with, you can also trim your video to remove those first and last few seconds when you start and stop the recording to make the end product more polished and professional.

After saving your video, give it a catchy title, add some tags and a brief description that grabs people's attention. All that's left is to share it with the world: You can either generate a link that you can send to anyone and watch your video or download it as an mp4 file so you can upload it to social media or any website.
Want to learn more about Prezi Video and its features? Check out our dedicated Knowledge Base!